

Hawaiian Pineapple Coconut Thumbprint Cookies are a delightful treat that brings a taste of the islands right to your kitchen. These cookies have a perfect balance of a buttery, soft texture with a tropical burst of pineapple and the crunch of shredded coconut. The recipe is easy and beginner-friendly, requiring simple ingredients you likely already have on hand. They bake quickly, making them an ideal choice for a quick dessert or snack. Pair it with my popular homemade cookie recipes for a variety of treats any time.
Why You'll Love Hawaiian Pineapple Coconut Thumbprint Cookies - Easy & Delicious Homemade Treat
Try these easy Hawaiian Pineapple Coconut Thumbprint Cookies for a sweet tropical twist. Homemade, quick, and perfect for family-friendly dessert time!
- Simple ingredients you probably have in your pantry.
- Soft and chewy cookies with tropical pineapple jam center.
- Quick homemade recipe, perfect for beginner bakers.
- Family-friendly and perfect for afternoon snacks or dessert.
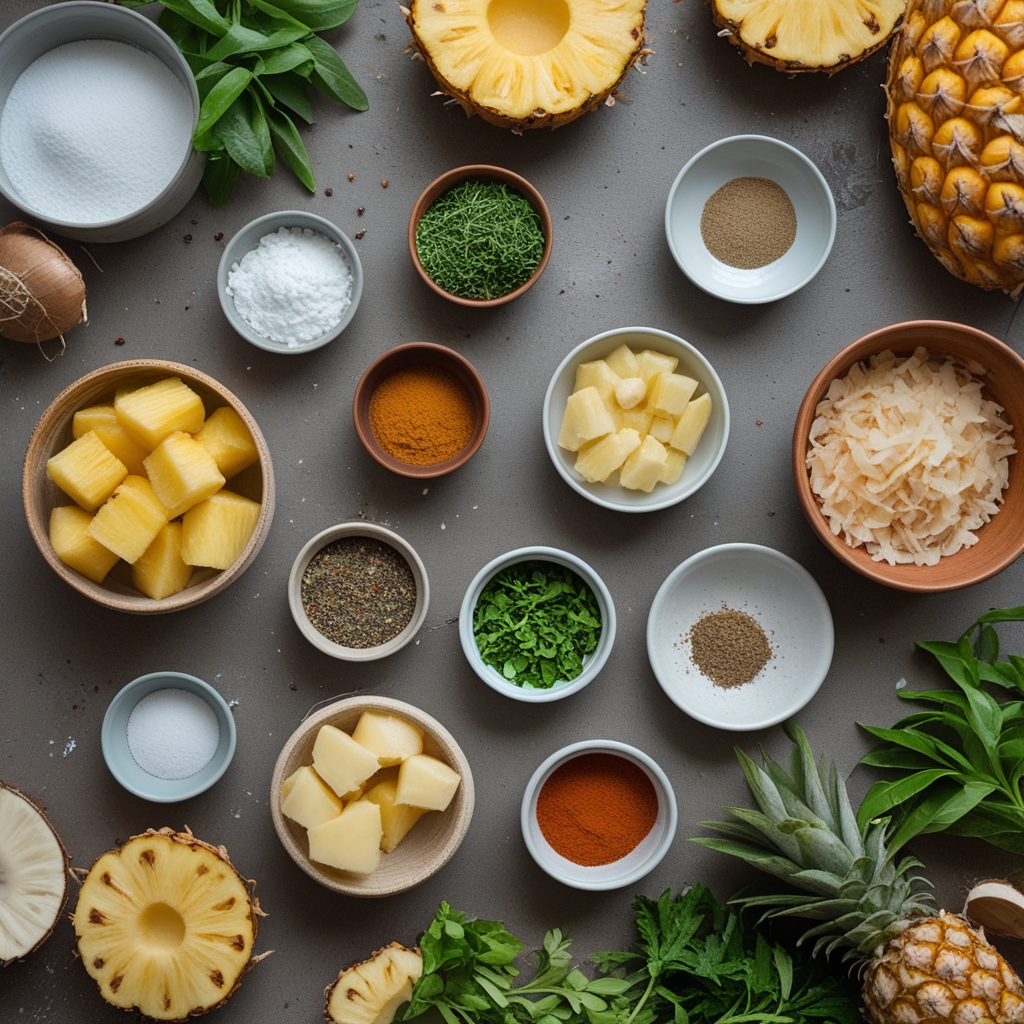
Ingredients for Hawaiian Pineapple Coconut Thumbprint Cookies - Easy & Delicious Homemade Treat
Butter: Use unsalted for better control of salt. Can substitute with margarine but flavor may vary.Pineapple jam: Fresh or store-bought preserves work well. You can substitute with mango or apricot jam for a flavor twist.
- Butter: Use unsalted for better control of salt. Can substitute with margarine but flavor may vary.
- Pineapple jam: Fresh or store-bought preserves work well. You can substitute with mango or apricot jam for a flavor twist.
Ingredient Note: Full measurements for Hawaiian Pineapple Coconut Thumbprint Cookies - Easy & Delicious Homemade Treat are listed in the printable recipe card below.
How to Make Hawaiian Pineapple Coconut Thumbprint Cookies - Easy & Delicious Homemade Treat
Step 1 — Prep & Preheat
Prepare the dough: In a large bowl, cream together the softened butter and sugar until light and fluffy. Beat in the egg, vanilla extract, and almond extract if using.
Step 2 — Cook and Build Flavor
Mix dry ingredients: In a separate bowl, whisk together the flour, baking powder, salt, and shredded coconut.
Step 3 — Finish, Taste, and Adjust
Combine: Gradually add the dry ingredients to the wet mixture, stirring until a soft dough forms. Chill the dough for 15 minutes if too soft to handle.

Expert Tips for Hawaiian Pineapple Coconut Thumbprint Cookies - Easy & Delicious Homemade Treat
- Use room temperature butter for easier creaming and smooth dough.
- Don’t overfill the thumbprint indentation; jam can bubble over while baking.
- For extra coconut flavor, toast shredded coconut lightly before adding to dough.
Hawaiian Pineapple Coconut Thumbprint Cookies - Easy & Delicious Homemade Treat
Try these easy Hawaiian Pineapple Coconut Thumbprint Cookies for a sweet tropical twist. Homemade, quick, and perfect for family-friendly dessert time!
Ingredients
Main Ingredients
- 1 cup unsalted butter, softened
- 2/3 cup granulated sugar
- 1 large egg
- 1 teaspoon vanilla extract
- 2 cups all-purpose flour
- 1/2 teaspoon baking powder
- 1/4 teaspoon salt
- 1/2 cup shredded sweetened coconut
- 1/3 cup pineapple jam or preserves
Seasonings & Flavor Boosters
- 1/2 teaspoon almond extract (optional)
Optional Toppings
- Extra shredded coconut for rolling
- Powdered sugar for dusting
Instructions
How to Make Hawaiian Pineapple Coconut Thumbprint Cookies
- Prepare the dough: In a large bowl, cream together the softened butter and sugar until light and fluffy. Beat in the egg, vanilla extract, and almond extract if using.
- Mix dry ingredients: In a separate bowl, whisk together the flour, baking powder, salt, and shredded coconut.
- Combine: Gradually add the dry ingredients to the wet mixture, stirring until a soft dough forms. Chill the dough for 15 minutes if too soft to handle.
- Shape the cookies: Preheat oven to 350°F. Roll dough into 1-inch balls and place on a parchment-lined baking sheet. Press your thumb gently into the center of each ball to create a well.
- Add pineapple filling: Spoon about 1/2 teaspoon of pineapple jam into each thumbprint well.
- Bake: Bake for 20-25 minutes or until edges are lightly golden. Remove and cool on a wire rack.
Nutrition (per serving)
Storage, Freezing & Reheating
- Fridge: Store in an airtight container for up to 3 days.
- Freezer: Not recommended (texture changes).
- Serve/Reheat: Best chilled or at room temperature.
Hawaiian Pineapple Coconut Thumbprint Cookies - Easy & Delicious Homemade Treat FAQs
Yes, you can prepare the dough up to 24 hours in advance and keep it chilled. You can also bake the cookies and store them in an airtight container for up to 5 days.
Mango, apricot, or peach preserves are excellent alternatives that also offer a fruity, tropical flavor.
Store cookies in an airtight container at room temperature for up to 5 days or freeze for longer storage.
Overbaking or too much flour can dry out cookies. Make sure to measure flour carefully and check cookies a few minutes before baking time ends.
Before You Go
If you try this Hawaiian Pineapple Coconut Thumbprint Cookies - Easy & Delicious Homemade Treat, I’d love for you to leave a rating or share how you customized it.