
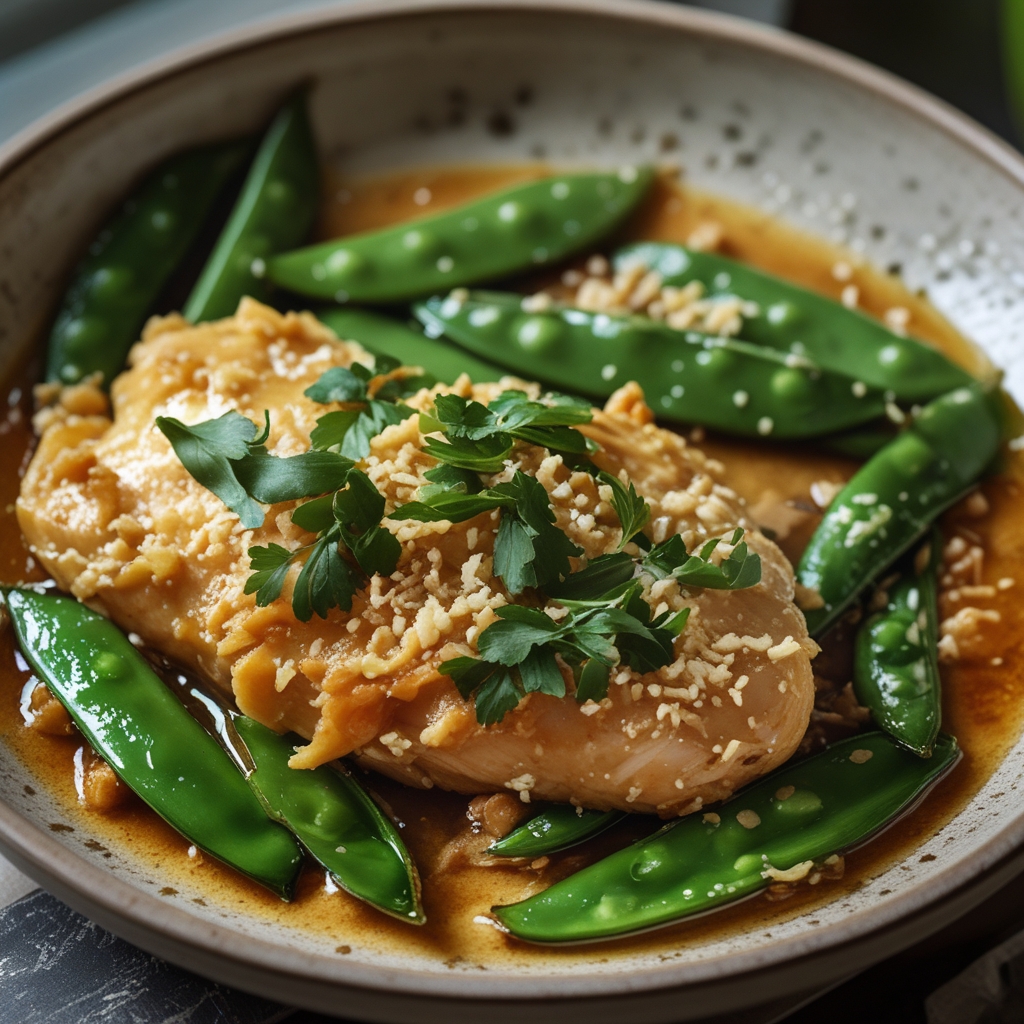
Easy Ginger-Soy Chicken with Snow Peas is perfect for busy weeknights when you want flavorful, tender chicken with crisp veggies. This dish is a delightful blend of ginger, soy, and garlic that creates a glossy, savory sauce coating every bite. It’s quick to prepare and uses pantry staples, making it beginner-friendly and perfect for meal prep. Pair it with my Korean-Inspired Kimchi Bulgogi Cheesesteak for an Asian fusion twist.
Why You'll Love Easy Ginger-Soy Chicken with Snow Peas – Quick & Flavorful Weeknight Meal
Make Easy Ginger-Soy Chicken with Snow Peas in 40 mins – a quick, family-friendly dinner packed with savory ginger and crisp snow peas.
- Ready in just 40 minutes – perfect for quick weeknight dinners.
- Simple ingredients you likely have on hand, making it budget-friendly.
- Family-friendly flavors with tender chicken and crisp snow peas.
- Great for meal prep and easy leftovers that reheat well.
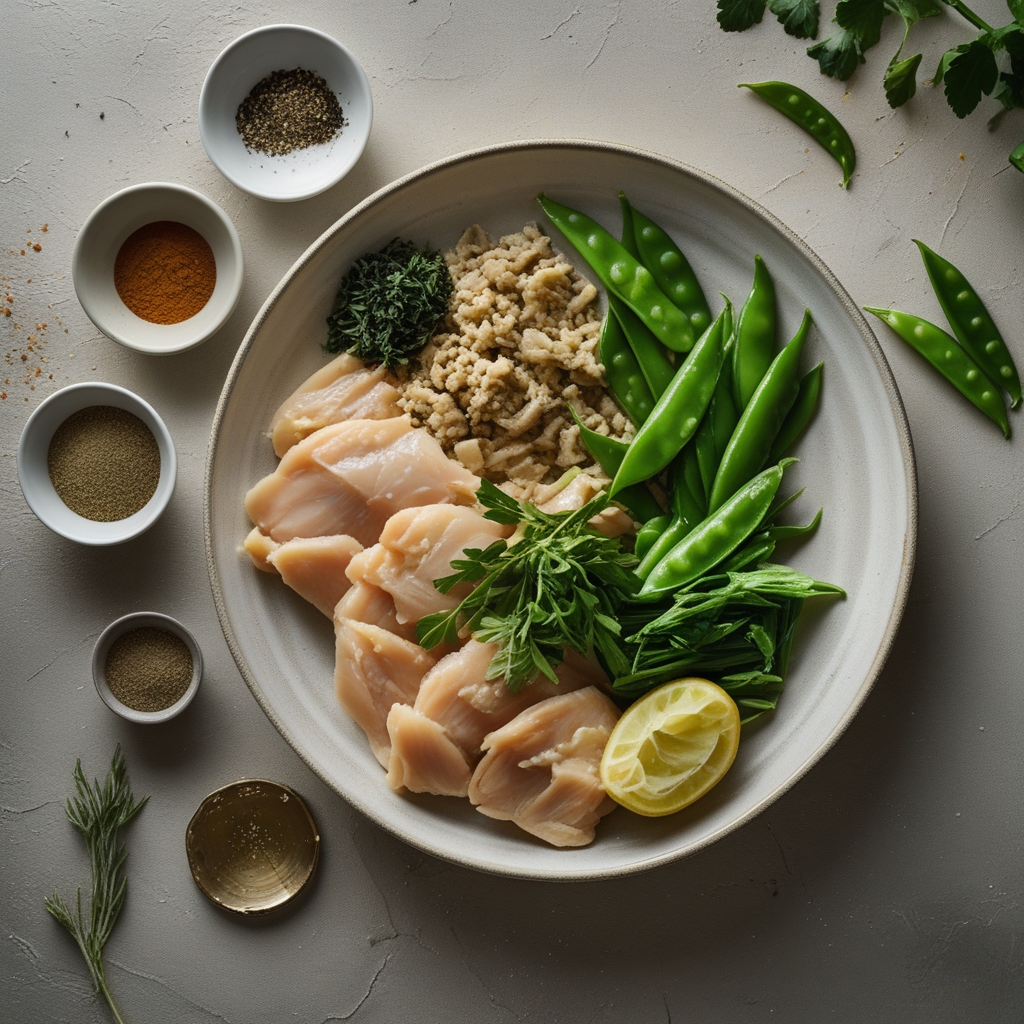
Ingredients for Easy Ginger-Soy Chicken with Snow Peas – Quick & Flavorful Weeknight Meal
Chicken thighs: Best for juiciness and flavor; substitute with chicken breasts if preferred.Snow peas: Look for fresh, crisp pods; sugar snap peas work as an alternative.
- Chicken thighs: Best for juiciness and flavor; substitute with chicken breasts if preferred.
- Snow peas: Look for fresh, crisp pods; sugar snap peas work as an alternative.
Ingredient Note: Full measurements for Easy Ginger-Soy Chicken with Snow Peas – Quick & Flavorful Weeknight Meal are listed in the printable recipe card below.
How to Make Easy Ginger-Soy Chicken with Snow Peas – Quick & Flavorful Weeknight Meal
Step 1 — Prep & Preheat
Prepare the sauce and slurry: In a small bowl, whisk together soy sauce, honey, sesame oil, rice vinegar, and water. In another bowl, mix cornstarch with 2 tbsp water and set aside.
Step 2 — Cook and Build Flavor
Sauté aromatics: Heat vegetable oil in a large skillet over medium-high heat. Add garlic and grated ginger, cook until fragrant (about 1 minute).
Step 3 — Finish, Taste, and Adjust
Cook chicken: Add chicken pieces to the skillet and cook until lightly browned and cooked through (about 8-10 minutes), stirring frequently.
Expert Tips for Easy Ginger-Soy Chicken with Snow Peas – Quick & Flavorful Weeknight Meal
- Use chicken thighs for juicier, more flavorful meat compared to breasts.
- Don’t overcook snow peas; they should stay crisp-tender for the best texture.
- If sauce thickens too much, add a splash of water to reach desired consistency.
Easy Ginger-Soy Chicken with Snow Peas – Quick & Flavorful Weeknight Meal
Make Easy Ginger-Soy Chicken with Snow Peas in 40 mins – a quick, family-friendly dinner packed with savory ginger and crisp snow peas.
Ingredients
Main Ingredients
- 1 lb boneless, skinless chicken thighs, cut into bite-sized pieces
- 2 cups fresh snow peas, trimmed
- 2 tbsp vegetable oil
- 2 cloves garlic, minced
- 1 tbsp fresh ginger, grated
Seasonings & Flavor Boosters
- 1/4 cup low sodium soy sauce
- 1 tbsp honey
- 1 tsp sesame oil
- 1/2 tsp crushed red pepper flakes (optional)
- 1 tbsp rice vinegar
- 1/4 cup water
- 1 tbsp cornstarch mixed with 2 tbsp water (slurry)
Optional Toppings
- Chopped green onions
- Toasted sesame seeds
Instructions
How to Make Easy Ginger-Soy Chicken with Snow Peas
- Prepare the sauce and slurry: In a small bowl, whisk together soy sauce, honey, sesame oil, rice vinegar, and water. In another bowl, mix cornstarch with 2 tbsp water and set aside.
- Sauté aromatics: Heat vegetable oil in a large skillet over medium-high heat. Add garlic and grated ginger, cook until fragrant (about 1 minute).
- Cook chicken: Add chicken pieces to the skillet and cook until lightly browned and cooked through (about 8-10 minutes), stirring frequently.
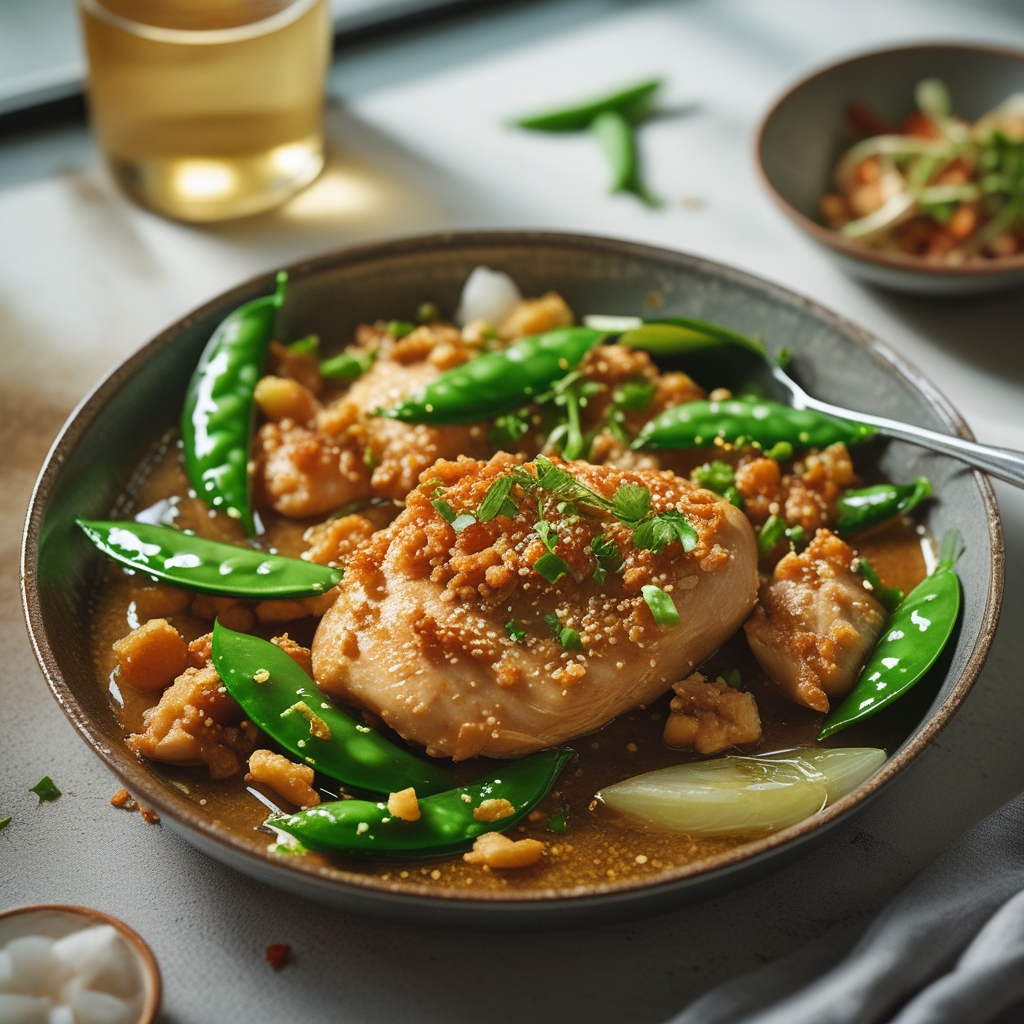
- Add snow peas and sauce: Toss in the snow peas, pour the sauce mixture over the chicken, and stir to combine. Cook for 2-3 minutes until snow peas are crisp-tender.
- Thicken sauce: Stir in the cornstarch slurry and cook for another 1-2 minutes until the sauce thickens and becomes glossy. Remove from heat.
- Garnish and serve: Sprinkle with chopped green onions and toasted sesame seeds if desired. Serve hot with steamed rice or noodles.
Nutrition (per serving)
Storage, Freezing & Reheating
- Fridge: Store in an airtight container for up to 3 days.
- Freezer: Not recommended (texture changes).
- Serve/Reheat: Best chilled or at room temperature.
Easy Ginger-Soy Chicken with Snow Peas – Quick & Flavorful Weeknight Meal FAQs
Yes! Prepare the dish and store it in the refrigerator for up to 3 days. Reheat gently on the stove or microwave before serving. For best texture, add snow peas fresh or reheat briefly.
Sugar snap peas work great as a substitute and provide a similar crisp texture and sweet flavor.
Place leftovers in an airtight container and keep refrigerated for up to 3 days. Avoid freezing as the vegetables may become soggy or lose their texture.
Chicken breasts can dry out easily. Using chicken thighs or ensuring you don’t overcook the meat helps keep it juicy. Cook only until no longer pink inside and remove from heat promptly.
You Might Also Like
- Korean-Inspired Kimchi Bulgogi Cheesesteak
- Easy Zucchini & Halloumi Bake: Bold Flavors for Cozy Nights
Before You Go
If you try this Easy Ginger-Soy Chicken with Snow Peas – Quick & Flavorful Weeknight Meal, I’d love for you to leave a rating or share how you customized it.